

Installing a home plumbing system can be a daunting task. It can be challenging to know where to start, the proper steps, and how to get it done right. Here, we will go through installing a home plumbing system the right way.
Step 1: Plan Your Installation
Before installing a home plumbing system, you first need to plan out the installation. This will help ensure that the system is installed safely and efficiently:
- Measure the distance from each water line or fixture to where you want the piping to run.
- Plot out a diagram of the layout of your home and mark all of the locations where you will need to install pipes.
- Consult with a professional plumber to estimate how much piping and installation work will be required.
Step 2: Gather The Necessary Materials
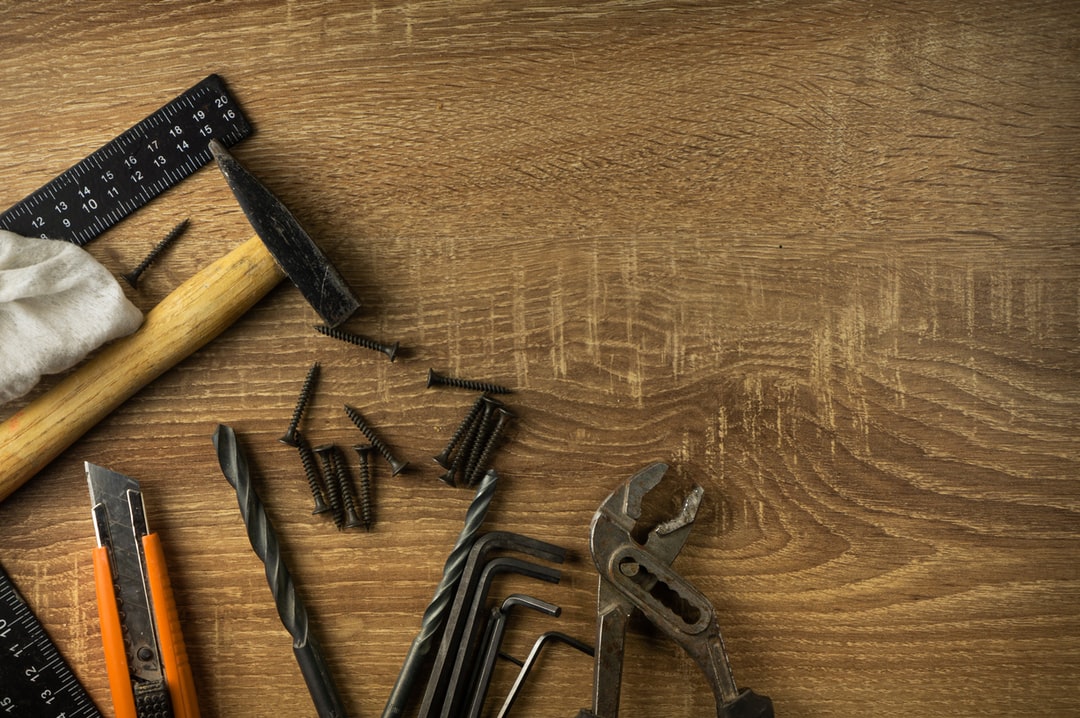
Gather the necessary materials for the installation of a home plumbing system. This will include the proper tools, parts, and materials for your specific project.
You will also need to collect information about your home’s layout and any restrictions or hazards that may be present. Once you have taken all of the integral materials, it is time to begin the installation.
Step 3: Locate The Plumbing System In Your Home
In order to begin installing your home plumbing system, you first must locate the system in your home. There are several options to do this, depending on the layout of your home.
One option is to mark each fixture with a piece of tape and then use a map or diagram to identify where the fixtures are located. You can also look for hints, such as pipes that run outside your house or underneath it.
Once you have found the system, you can start installing the pipes by following the manufacturer’s instructions or using a plumbing diagram.
Step 4: Remove The Old Plumbing System
When it comes to inserting a new home plumbing system, it is vital to remove the old one safely and effectively. There are many processes to do this, but the most common is to use a breaker bar:
- Disconnect all of the pipes that lead from the old system into the new one.
- Use the bar to twist and pull on each pipe until it comes out of the wall or floor. Be sure not to pinch your fingers or toes in between the pipes!
- Clean up any mess that has been made and install your new plumbing system.
Step 5: Install The New Plumbing System (If Needed)
If you have just replaced your old plumbing system with a new one, you may not need to do any of the next steps. If, however, you have removed and replaced parts of your old system, or if there are any new fixtures or fittings in your new system, you should follow these steps.
1. Clean all surfaces that the plumbing will contact. It includes the outside of the water pipe, the inside of the copper tubing where it enters and leaves the water meter (if there is one), and all fittings and valves.
Use a vacuum cleaner with a hose connecting to and wash all surfaces.
Be sure to remove all grease, waxes, and other contaminants.
2. Open up all taps and turn on the faucets so that water can flow. Once your home plumbing system is installed, it is important to open all of the taps and turn on the faucets so that water can flow.
This will allow you to flush any unwanted materials out of the system and ensure that everything is functioning correctly.
Home plumbing systems can be a challenging but rewarding experience. By following these simple steps, you can ensure that your installation goes smoothly and that you can use your new system for years to come.


